This is ANGLED FRAMES!
It's almost as quick as the Jelly Roll 1600 Quilt, not counting cutting the fabric, and is great for any width of fabric (wof) strips and big prints.
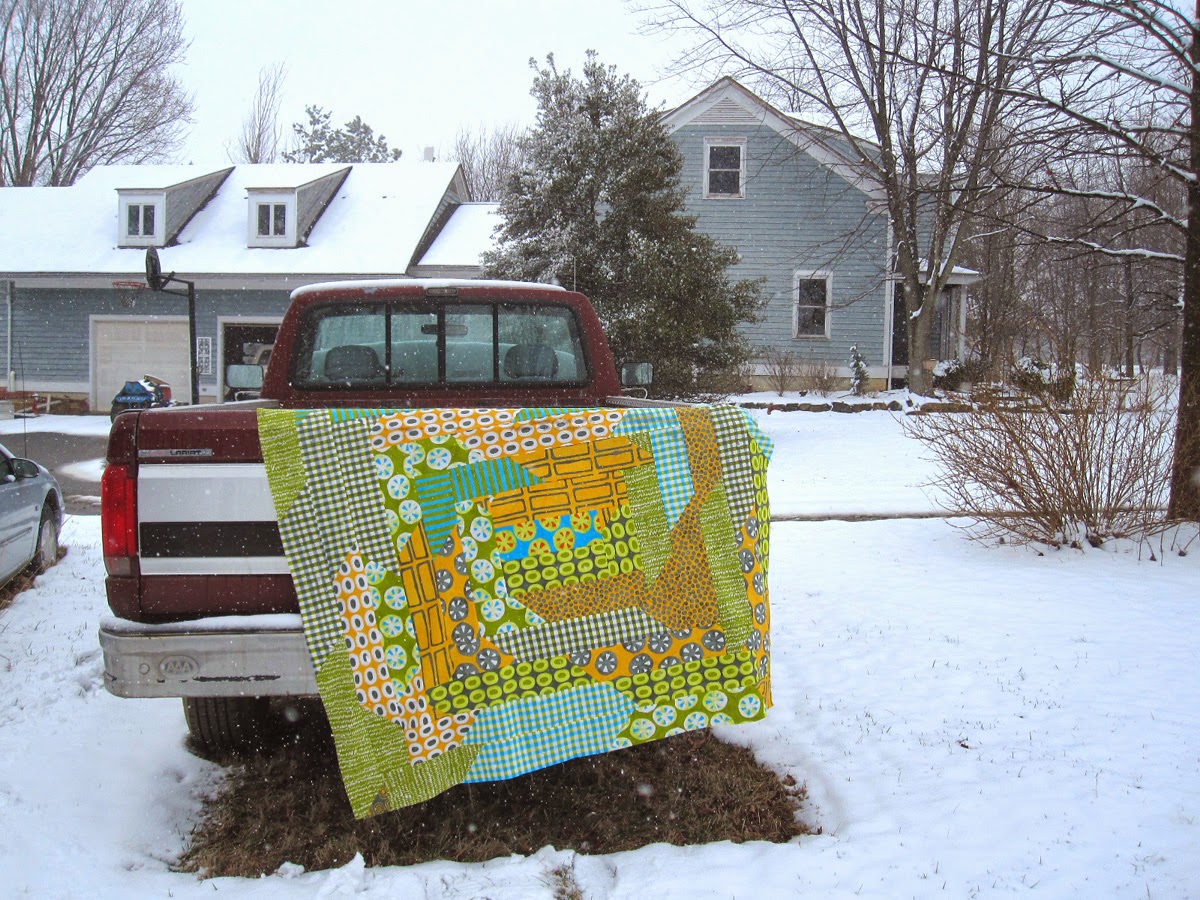
Approximate finished top is 52"x60" but you can easily make it bigger or smaller.
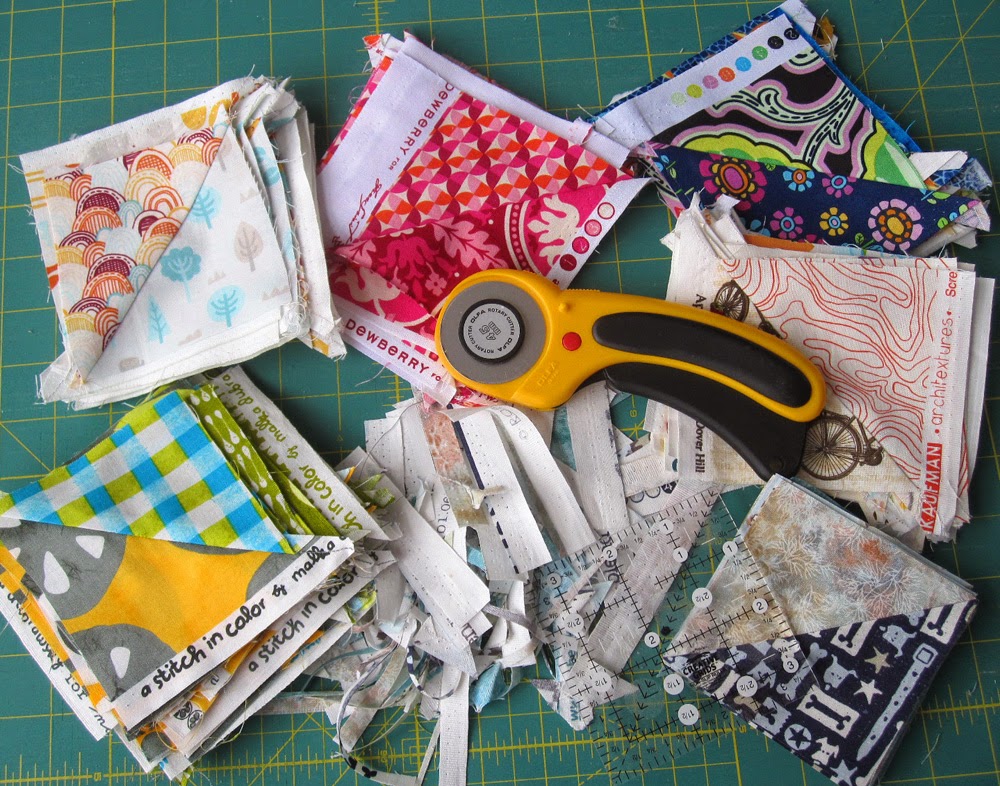
Fabric requirements are:
(1) 4 ½” x 12 ½ ”
rectangle for the center and (20) 4 ½” x WOF (width of fabric) strips. Total fabric is 2 1/2 yards. You can have 20 different strips
or four of five different fabrics
or two of ten different fabrics...combos are endless!
Once you have all your fabric cut mix them up! Set the center rectangle aside and sew the (20) WOF strips together like you would binding. Use the above diagram if you have never done this before!:) Can't see the colors too good but the center solid line is the cutting line.
I just grabbed two strips, put them right side together and eyeballed it. If you don't trust your eyes you can draw the diagonal line with your fav fabric pen/pencil. Here is a great opportunity to chain stitch your pieces, just grab the end of the top piece and sew your third strip on that one repeating until you have all 20 stitched to each other.
Before cutting the chain (if you want to) go back and sew 1/2" to the right of the first stitchline and these will become Half Square Triangles (HSTs)!
Bonus!:)
I mean come on...these triangles are too big and too good to toss. I'll show you a few ideas of what to do with them in my next post but I'm sure you can come up with something awesome yourself!
Here is my chain of pink before I cut the strips and triangles apart. Please forgive me for switching from one fabric combo to another. I picked the photos that came out the clearest and they weren't all from the same top!
Cut between stitch lines. Should be 1/4" seams right?:)
Pile of ONE HUMONGOUS STRIP and HSTs!
Using ¼” seam allowance take the center rectangle (4 ½” x 12
½” piece) and your humongously long strip placing right sides together sew
along 12 ½” side. Before opening cut even along bottom of center piece. Now you
have the center and piece A.
I like to cut mine before I stitched past the needle but if you don't want to do that...
(this photo is the next step!:)
...you can do it on the table or on your cutting mat with your straight edge. I'm just lazy!
Rotate this a quarter turn and putting right sides together with WOF
strip sew along bottom and trim before opening. Now you have the center with
piece A + B.
Really, it's easy to cut it just before finishing the seam and so much faster. I'm holding the camera with my left hand but usually it would be holding the bottom strip up for easy cutting.
.
Repeat quarter turn
putting right sides together sew and trim right side of center for strip C and
repeat along bottom for piece D. Now you
have “framed” the center! Basically all you are doing is making a huge rectangular Log Cabin block!
It really doesn't matter which way you go around, just start on the 12 1/2" side and keep going around until you have "Framed" the center six times. There may be a wee bit leftover.
I didn't bother ironing the top until I finished! I just made sure the seams kept working out from the center.
Whatever way I stitched the angled seam I made sure to keep it in that direction when stitching the other side so they would iron flat on both sides.
I have only quilted one of the tops. I hand quilted with #8 perle cotton starting from the center rectangle and working my way around and around. It was soooo quick and I'm sure would be even quicker with the sewing machine!
Because WOF can vary I always made sure I had an extra for standby! This one took 19 and a teeny tiny bit of the 20th strip.
This one took 20 and I tried to control the colors a bit by putting them in ROY G BIV order and making sure the last five pieces were basically all blue.
This top has two strips each of six prints from
Doglandia and four strips from two colors of
Fusion Mist.
Twenty-three strips make this top because the center is a little bigger. I didn't want to loose some of those great flowers and a few of the strips weren't quite WOF...cause I had used a bit of them for something else. Go figure!:)
I especially love how this one turned out. It is all from
Moda's Hearty Good Wishes. I made this for my Dad-in-law. It has 21 strips and a small square for the center. I didn't go around evenly so the square isn't in the center.
With the above I want you to notice the contrast with that very light lower right corner. I don't mind how that looks but if that's something you may not like then make sure your last five or six strips are darker. I'll use a darker binding for this....it's the next one that needs finishing!!:)
Here is one for all of you with TONS of Fat Quarters, eleven FQs to be exact. Eleven FQs cut into four long 4 1/2" wide strips each for 44 strips. Sewn together just like the long ones. I used 45 strips cause I messed up and stitched two pieces backwards...twice!
Lastly are a couple of baby quilts. The one in the middle is above. These used 10 (on the left) and 10.5 (on the right) strips. I sashed the larger center square of the top on the right so that's why it took a bit more. Such a great quick way to make a baby gift!
These are just a few examples of what you can do with Angled Frames. My mind just reels with all the other ideas I have for this top.
What if you make it and then cut it in half at an angle and add a strip then turn it and do the same thing...and do it again a few more times?!
What if you make the top then cut it into a bunch of squares rearrange, sash and sew back together?
What if you sewed two different tops and cut them into squares and mixed them up?
What if you only used four fabrics?
Did I tell you once you cut your strips you can sew this top together in less than 1 1/2 hours?!
Oh there is so much more I could say and I would like to tell you the reason Angle Frames came to be in the first place. I'll tell you that story and show you some things made from the bonus HSTs....next post.
Bonus Half Square Triangle units. What can you make with them?
I hope you play along with us. Let's see your fabric selection and progress shots at
Any questions ask here or on the Round 15 discussion at ORBC and hopefully I can help!:) But this is so easy....I'm sure you won't have any problems at all...except picking fabric!:)
Thanks for playing and tell your friends!!
~d
Oh...and the gang at ORBC want you to post in Instagram... #angledframes or #ORBC ....do it!:)

.jpg)


.jpg)

.jpg)
.jpg)